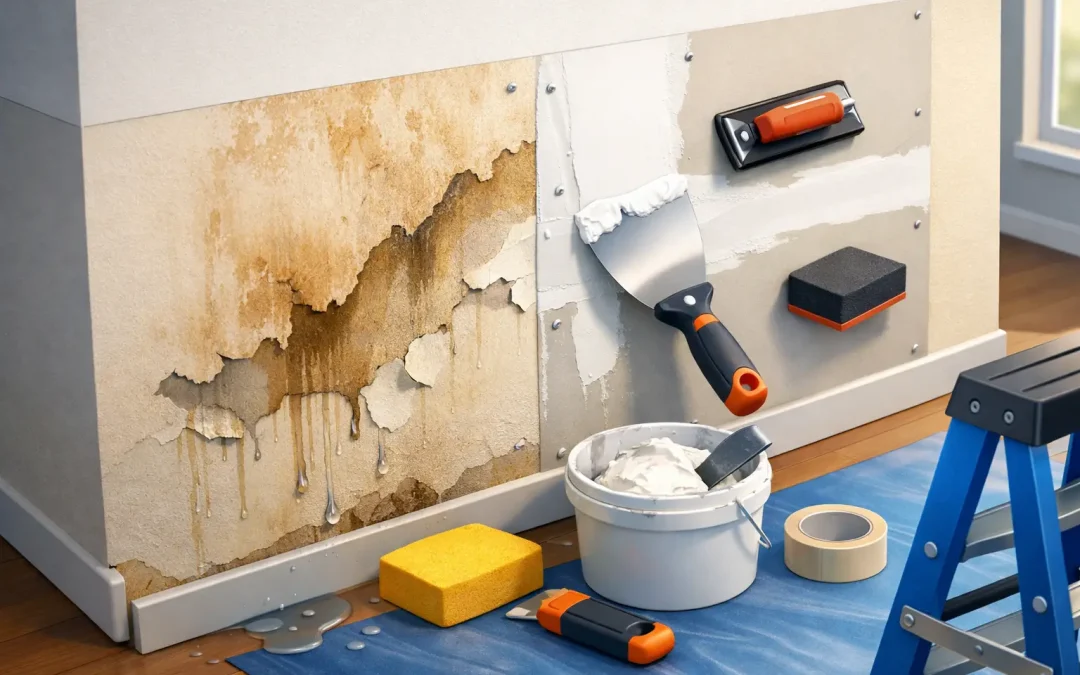
A brown ceiling stain or a soft spot in the wall usually shows up after the real problem has already started. If you need to repair water damaged drywall, the first job is not patching the surface. It is finding out where the water came from, how far it traveled, and whether the drywall is still sound enough to save.
That matters because drywall is not very forgiving once it gets wet. A minor stain from a one-time leak may only need sealing and paint. A wall that stayed damp for days can lose strength, crumble at the edges, and create conditions for mold. The right repair depends on how much water got in and how long it stayed there.
When water damaged drywall can be repaired
Not every water spot means full replacement. In some cases, the drywall is dry, firm, and only discolored. That is often true with a small plumbing drip caught early or a roof leak that was fixed quickly. If the panel has not sagged, softened, or swollen, a targeted repair may be enough.
Press lightly on the area with your hand. If it feels solid and the paper face is still bonded well to the gypsum core, that is a good sign. Look for bubbling paint, loose tape joints, nail pops, and staining that extends beyond what is visible on the surface. Water often spreads farther than homeowners expect.
Ceilings need extra caution. Even if damage looks minor, wet drywall overhead can lose integrity faster than wallboard on a vertical surface. If a ceiling bows or feels soft, replacement is usually the safer route.
When to replace instead of repair water damaged drywall
Sometimes repair is not the responsible choice. If drywall is sagging, crumbling, or has been soaked through, replacing the affected section is usually faster and more durable than trying to save it. The same goes for material that stayed wet long enough to support mold growth.
There is also a practical side to this. Trying to patch over weakened drywall can leave you with a wall that looks acceptable for a few months, then starts to crack, blister, or stain again. A clean cutout and proper replacement often costs less in the long run than repeating a cosmetic fix.
If the leak involved contaminated water, replacement becomes even more important. Water from a clean supply line is one thing. Water from a drain backup, toilet overflow, or roof issue that brought in debris is another. In those cases, materials may need to be removed and disposed of rather than dried in place.
Start with the source of the water
Before you open a wall or patch a stain, make sure the leak is actually solved. That could mean fixing a roof penetration, resealing around a window, replacing a leaking supply line, or addressing a shower pan issue. If the source is not corrected, the drywall repair is just covering up an active problem.
This is where experience helps. Water can travel along framing, pipes, and insulation before it shows up on drywall. The stain on your dining room ceiling may not be directly below the original leak. In older homes especially, finding the true source can take a careful look rather than a quick guess.
Once the leak is resolved, the area needs to dry fully. That may take a day or two for a minor surface issue, or longer if insulation and framing got wet. Repairing too soon traps moisture behind the finish and can lead to recurring damage.
How to assess the damaged area
A simple inspection tells you a lot. Start by checking the size of the stain and the firmness of the drywall. Use a utility knife to score a small test area if needed. If the gypsum inside is chalky but intact and dry, you may be able to seal and refinish. If it is soft, crumbly, or separating from the paper face, cut it out.
Pay attention to trim, baseboards, and adjacent surfaces. Water damage rarely stays in neat boundaries. A wall stain near the floor may also mean damaged insulation, wet framing, or flooring issues nearby. In bathrooms and kitchens, repeated moisture exposure can affect more than just the drywall finish.
If you smell mustiness, see black spotting, or know the wall stayed wet for more than a day or two, it is smart to take a more conservative approach. Opening the area and replacing damaged material may protect the rest of the home better than trying to save every inch.
How to repair water damaged drywall step by step
For minor damage, the process is straightforward if the drywall is dry and structurally sound. First scrape away any loose paint, soft paper, or failing joint compound. Then sand the edges so the damaged area transitions cleanly into the surrounding wall.
If the paper face has torn but the gypsum core is solid, apply a sealing primer designed to lock down damaged drywall paper and water stains. This step matters. Standard paint alone will not reliably block a water mark, and the stain often bleeds back through.
After priming, use joint compound to smooth low spots, feathering it out past the repair area. Once it dries, sand lightly and inspect under good light. Most patches need a second coat to disappear properly. Then prime again over the repaired surface and repaint the entire section for a uniform finish.
For more serious damage, cut out the affected drywall back to the center of the framing or to clean, solid material. A square or rectangular cut is easier to patch cleanly than an irregular opening. Remove any wet insulation behind it and let the cavity dry completely.
Install a new piece of matching drywall, screw it securely to framing or backing, tape the joints, and apply joint compound in thin coats. Rushing this part is where many repairs go wrong. Thick mud shrinks, cracks, and leaves visible ridges. Thin coats, proper drying time, and careful sanding make the patch blend in.
Matching texture and paint
This is often the hardest part of the job, not the patch itself. A smooth wall is usually easier to repair invisibly than orange peel or hand-applied texture. Ceiling texture can be even trickier, especially if the original finish has aged or been painted multiple times.
Even with a solid patch, fresh paint on one spot can flash against older paint around it. Sometimes you can touch up a small section. Often, the better result comes from repainting the entire wall or ceiling plane from corner to corner.
That is one reason homeowners call a contractor for what seems like a small drywall repair. The goal is not just closing the hole. It is making the repair look like it never happened.
Common mistakes homeowners make
The biggest mistake is repairing before the area is fully dry. The second is treating every stain like a paint problem when the drywall underneath is actually damaged. Another common issue is patching only what is visible while leaving wet insulation or compromised material behind the wall.
There is also a tendency to cut too small an area. Homeowners understandably want to minimize damage, but a tight patch around soft or questionable drywall can create weak edges that fail later. Opening up to solid material usually gives a better result.
And finally, there is the finish work. Drywall repair is one of those jobs that looks easy until the light hits it sideways. Uneven sanding, rushed texture, or poor primer choice can turn a leak repair into a permanent eyesore.
When it makes sense to call a professional
If the damage is overhead, widespread, repeated, or tied to a bathroom, roof, or plumbing leak you have not fully diagnosed, getting professional help is usually the smart move. The same goes for homes with older finishes, custom textures, or signs of hidden damage beyond the drywall itself.
In Modesto-area homes, seasonal roof issues, plumbing leaks, and aging materials can all contribute to drywall damage that looks smaller than it is. A qualified contractor can tell you whether you need a surface repair, a section replacement, or a broader fix that protects the surrounding framing and finishes too.
At Thiel Construction, smaller repair work matters just as much as larger remodeling projects because both affect how your home looks, functions, and holds its value. Water damage is a good example. Handled correctly, it becomes a clean repair. Handled halfway, it tends to come back.
A good drywall repair should leave you with more than a patched wall. It should leave you confident that the leak was addressed, the damaged material was dealt with properly, and the finished surface looks right for the rest of your home.
Recent Comments