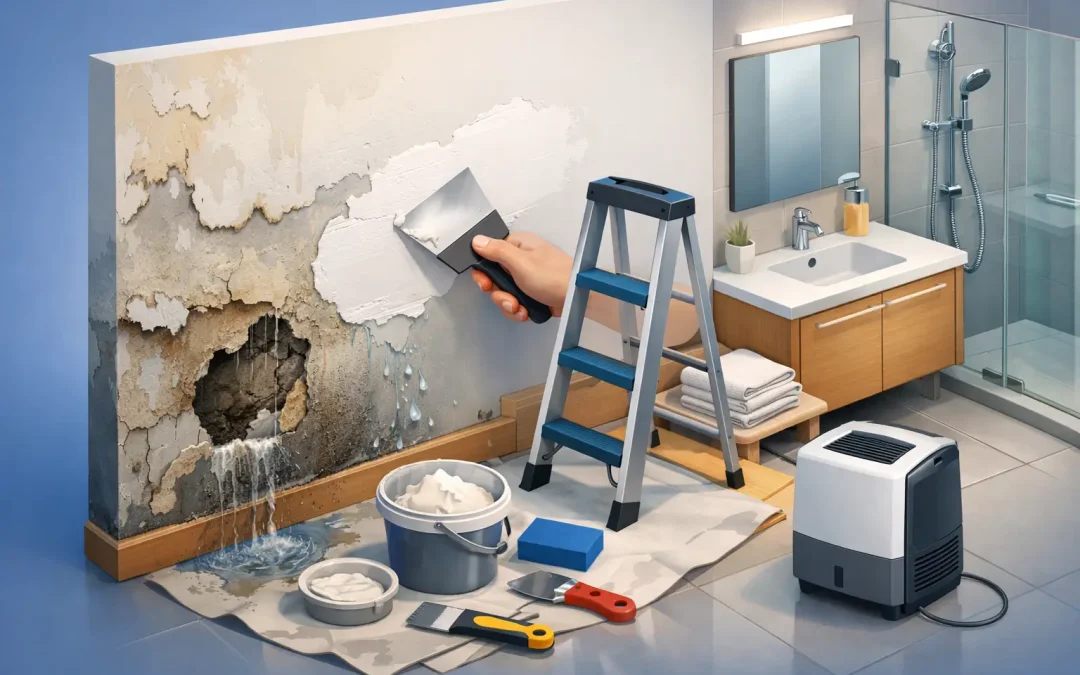
A bathroom wall rarely gets water damage all at once. More often, it starts with a soft spot near the tub, a little peeling paint by the shower, or baseboard trim that looks slightly swollen. Then one day you press on it and realize you need to fix water damaged bathroom wall sections before the problem spreads deeper.
The good news is that not every damaged wall turns into a full bathroom remodel. The bad news is that a cosmetic patch alone usually does not solve it. If moisture is still getting in, the stain, bubbling paint, and soft drywall will come back. A lasting repair starts with the cause, not just the surface.
What causes bathroom wall water damage?
In most homes, bathroom wall damage comes from one of three places – repeated splash exposure, failed caulking or grout, or a hidden plumbing leak. Walls next to tubs and showers take the most abuse. Over time, cracked grout lines, worn caulk joints, and loose trim can let water slip behind the finished surface.
Sometimes the source is less obvious. A leaking shower valve, a toilet supply line, or a drain issue inside the wall can keep framing and drywall damp for weeks before the outside shows visible damage. Poor ventilation can make things worse by trapping humidity, which softens paint and encourages mildew, but heavy moisture damage usually points to direct water intrusion rather than steam alone.
That distinction matters. If the wall is just dealing with condensation, the fix may be improving ventilation and refinishing the surface. If water is getting behind the wall, part of the assembly may need to be opened up and rebuilt properly.
How to tell if the damage is cosmetic or structural
A stained bathroom wall is not always a major repair, but softness is a warning sign. Press gently around the damaged area. If the drywall feels firm and the paint is the only issue, you may be dealing with a surface repair. If it crumbles, flexes, or feels swollen, the material has likely failed and needs to be removed.
Look for a few clues together instead of judging by one symptom. Peeling paint, dark staining, musty odor, loose tile, swollen trim, and recurring mildew often mean moisture has been present for more than a few days. If the damage sits directly behind a shower valve, below a second-story bathroom, or near plumbing lines, hidden leakage is much more likely.
If you see widespread black staining, damaged insulation, or wood that feels soft, the job moves beyond simple patchwork. At that point, the concern is not only appearance. You also need to protect the framing and make sure the wall can be closed back up with confidence.
Fix water damaged bathroom wall problems in the right order
The order of operations makes all the difference. Many homeowners understandably want to scrape, patch, and paint right away. That only works if the moisture source has already been corrected.
1. Stop the water first
Before any repair starts, identify where the moisture is coming from. Check the shower door, tub edge, caulk lines, plumbing trim, supply valves, and any fixtures mounted to the wall. If the damage is on the opposite side of a shower or tub wall, there may be a leak inside the cavity.
This step can be quick or more involved depending on the cause. Recaulking a tub surround is straightforward. Replacing failed plumbing behind the wall takes more time, but it is still cheaper than repairing the same section twice.
2. Remove damaged materials
Once the leak is resolved, all soft or deteriorated material should come out. That usually means cutting back damaged drywall to solid material. If the wall has tile, paneling, or other finish materials, some of that may need to be removed as well to access the full extent of the damage.
This is where experience helps. Water rarely damages a perfectly square area. It follows seams, corners, and gravity. Opening too little leaves wet material behind. Opening too much adds unnecessary cost. The goal is a clean repair area with sound edges and no trapped moisture.
3. Dry and inspect the wall cavity
Before the wall is rebuilt, the framing and insulation need to be dry. If the insulation is wet, it generally should be replaced. Wood framing should be checked for staining, mold growth, and structural weakening. In many cases, framing dries out and remains usable. In more severe cases, sistering or replacement may be the better route.
A proper inspection is also the time to correct the conditions that caused the damage. That could mean adding backing for a better tub flange transition, replacing loose valve trim, or improving the exhaust fan if excess humidity has been part of the problem.
Choosing the right repair material
Standard drywall does not belong in active wet areas, but it can still be used in parts of a bathroom that are outside the direct spray zone. For patches near sinks, toilets, or general bathroom walls, moisture-resistant drywall is often a better choice than standard board. Inside tub and shower surrounds, cement board or another approved tile backer is typically the right material.
This is one of those areas where it depends on location. A painted wall next to a vanity has different demands than a tiled wall at a showerhead. Using the wrong material may save money today and create another repair later.
Joint treatment and finishes matter too. Even a well-patched wall can fail if seams are not finished correctly or if paint is applied before the area is fully dry. In bathrooms, quality primer and paint help, but they are not substitutes for correct backing materials and waterproofing details.
When a patch is enough and when the wall should be rebuilt
A small repair can be perfectly appropriate if the damage is limited and the water source was minor and short-term. For example, a localized leak under a loose escutcheon plate may only require a modest drywall cutout and patch after the plumbing issue is fixed.
A larger rebuild makes more sense when damage extends behind tile, around a tub deck, or across several wall sections. If the shower surround was installed without proper waterproofing, replacing one soft area may not solve the broader failure. In that case, partial or full surround reconstruction is often the more honest repair.
That is the trade-off homeowners face. A small patch costs less upfront, but only if the surrounding assembly is still sound. If multiple weak points already exist, a limited repair can turn into repeating service calls and finish damage.
Preventing the problem from coming back
After you fix water damaged bathroom wall areas, prevention should be part of the job, not an afterthought. Bathrooms fail at transitions – where tub meets wall, tile meets drywall, or fixture trim meets finish surface. Those are the spots that need careful attention.
Fresh caulking around tubs and showers helps, but it has to be done on clean, stable surfaces. Cracked grout should be repaired before water gets behind it. An exhaust fan should vent properly and run long enough after showers to reduce lingering moisture. If your bathroom has had repeated damage, it may also be worth checking whether the fan is undersized or poorly ducted.
For many older homes in Modesto, Riverbank, and Turlock, bathroom damage comes from a mix of age and deferred maintenance rather than one dramatic leak. A good repair addresses both. That may mean replacing trim, resealing joints, and updating a few worn components while the wall is open.
Should you do it yourself or call a contractor?
Some bathroom wall repairs are manageable for a capable homeowner. If the damaged area is small, the source is obvious, and there is no sign of mold or framing damage, a straightforward drywall patch may be realistic.
But bathrooms are not forgiving when moisture details are missed. Hidden leaks, tile removal, backer replacement, texture matching, and finish carpentry can quickly turn a simple patch into a larger repair. If the wall backs up to plumbing, includes tile, or shows recurring damage, professional help usually saves time and avoids guesswork.
That is especially true when you want the repair to blend with the rest of the room. Matching texture, paint, trim, and waterproofing details takes more than filling a hole. It takes knowing how the bathroom should have been assembled in the first place.
At Thiel Construction, that practical approach matters because many homeowners do not need a sales pitch for a full remodel. They need an honest assessment, a clean repair, and workmanship that protects the home long after the wall looks good again.
If your bathroom wall is stained, soft, or starting to bubble, do not wait for the damage to spread. The sooner you address the source and repair it correctly, the better your chances of keeping it a repair instead of turning it into a much bigger project.
Recent Comments